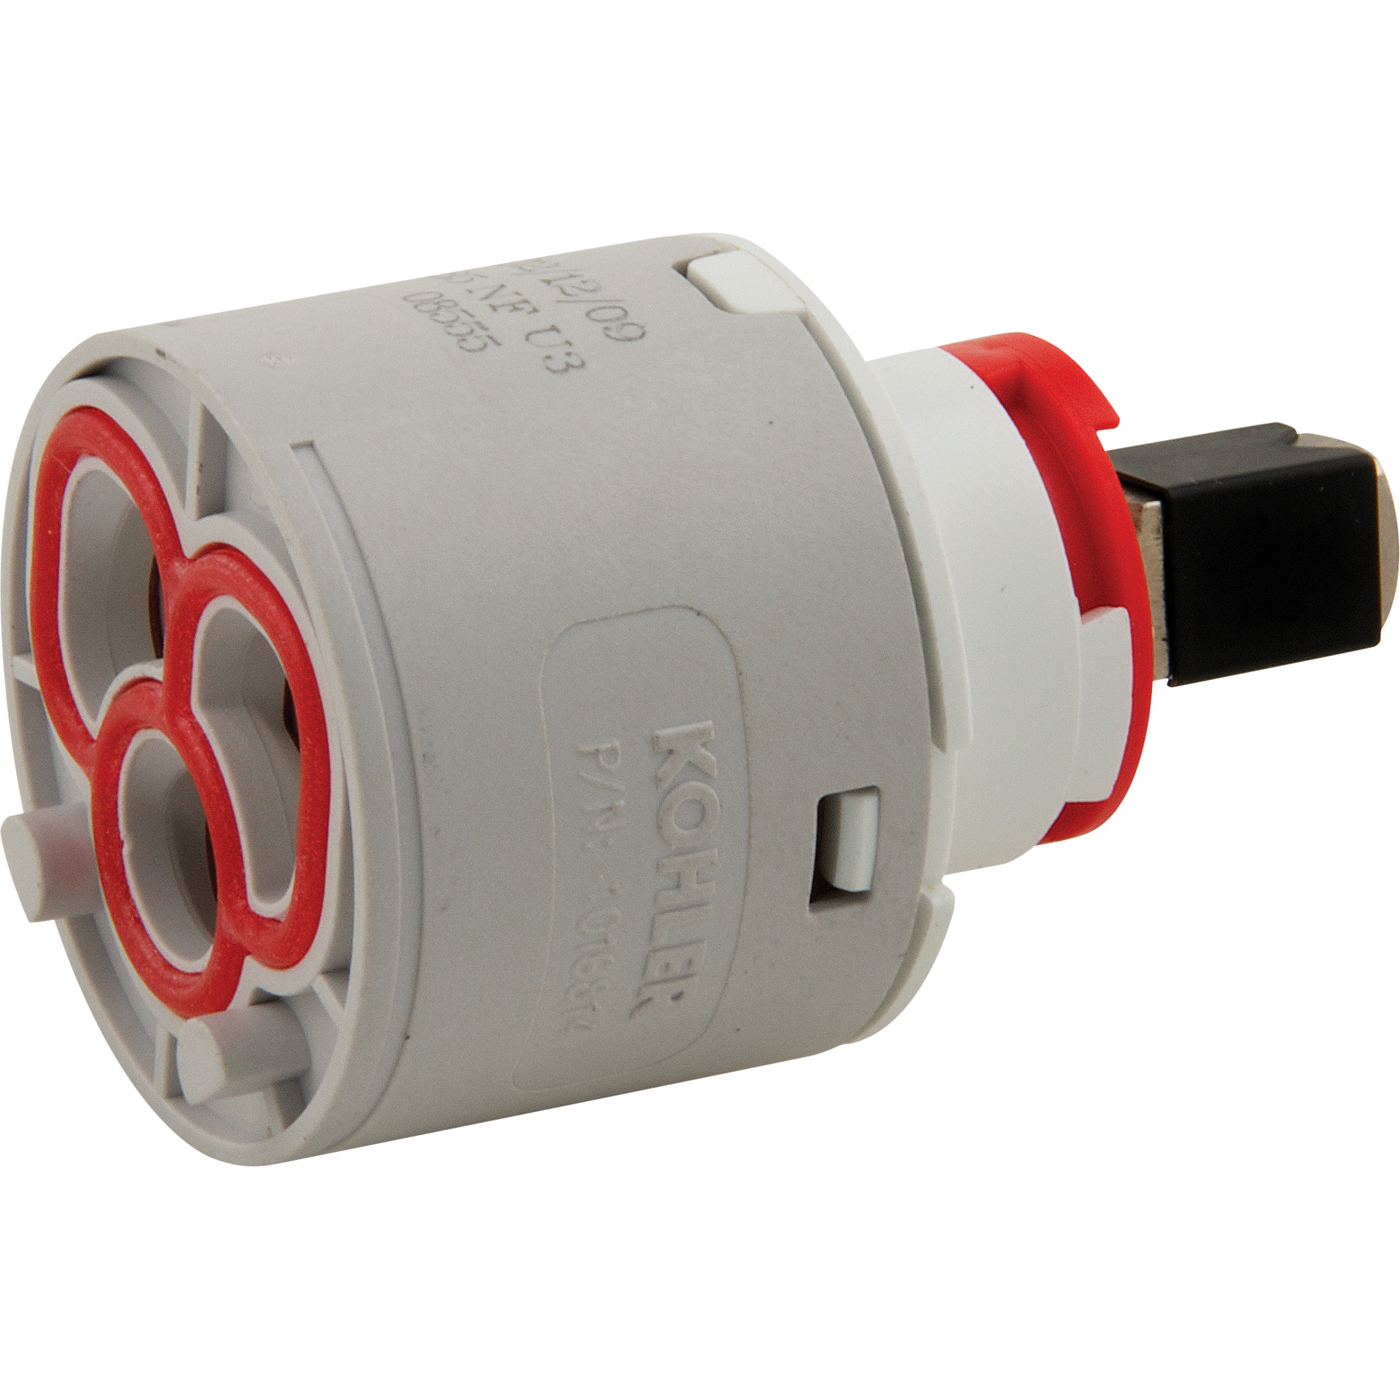
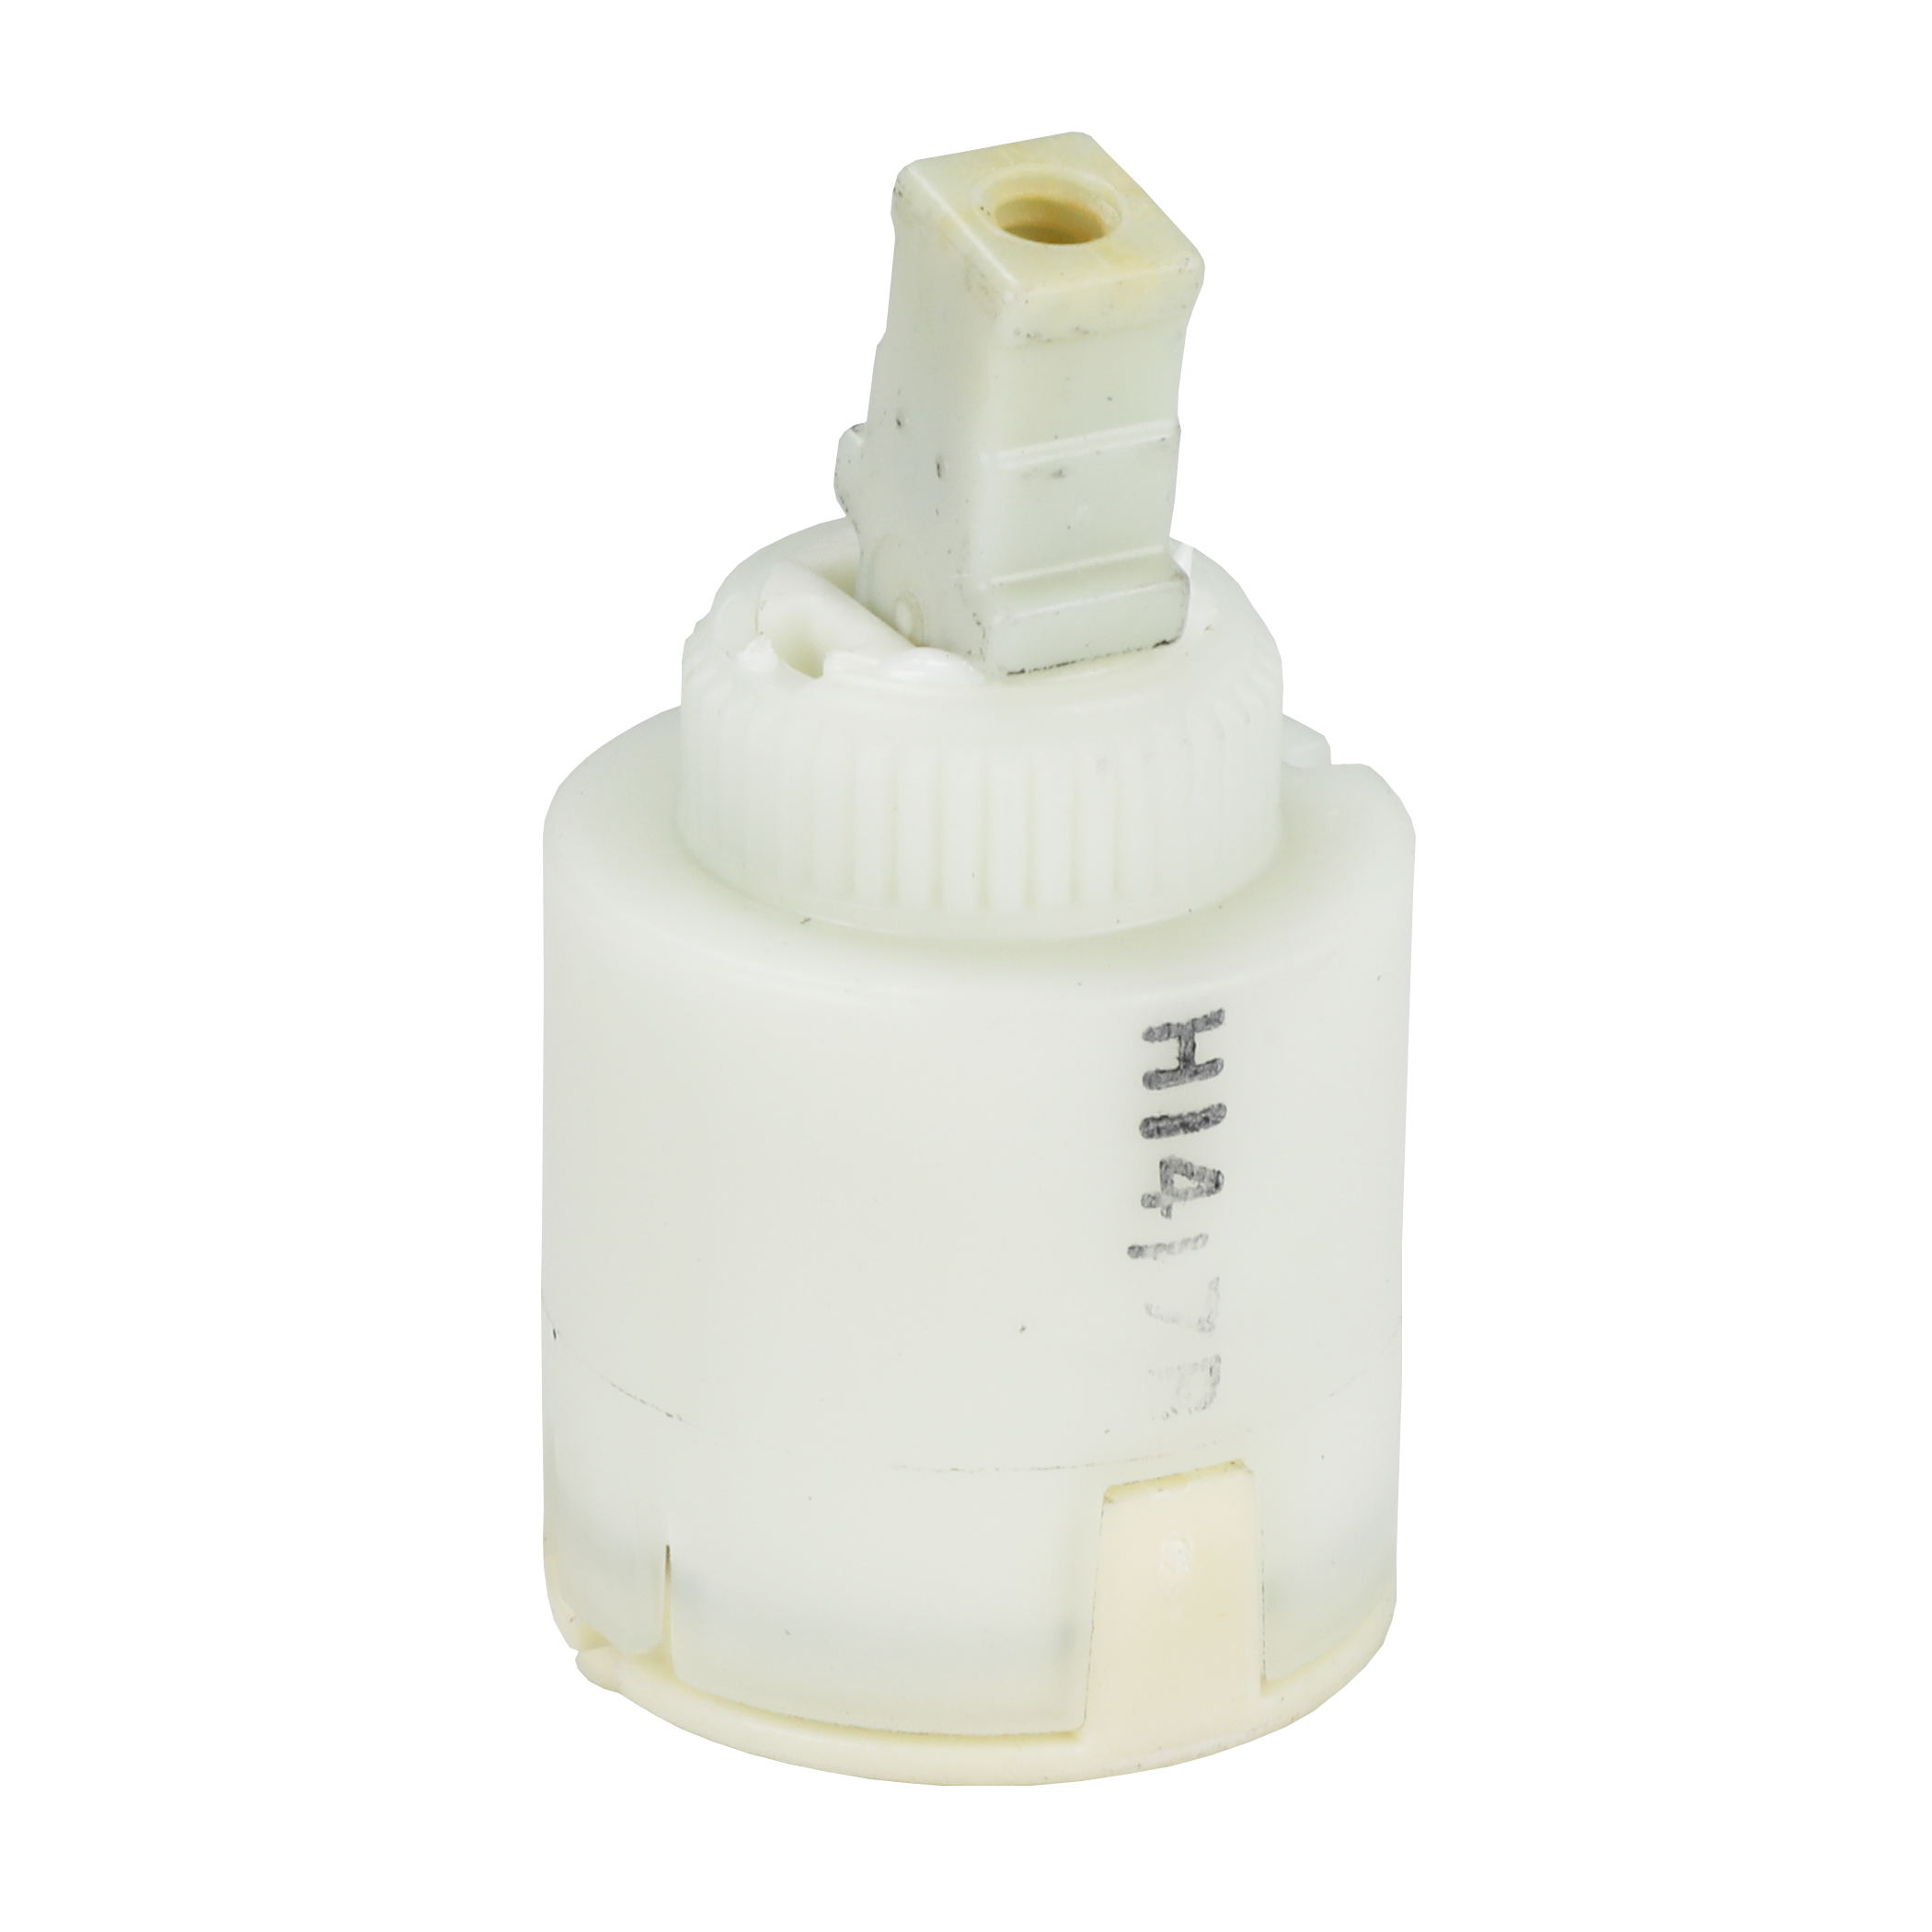
Tools and Materials for Cartridge Removal

Having the right tools is crucial for a successful Kohler bathroom faucet cartridge removal. The process requires precision and care, and using the appropriate tools will help prevent damage to your faucet.
Essential Tools
The following tools are essential for Kohler bathroom faucet cartridge removal:
- Adjustable Wrench: An adjustable wrench is used to loosen and tighten nuts and other fittings on the faucet. Choose a wrench with a comfortable grip and a size that fits the faucet components securely.
- Channel-Lock Pliers: These pliers are useful for gripping and turning stubborn nuts or fittings that are difficult to access with a wrench.
- Phillips Head Screwdriver: Most Kohler bathroom faucets use Phillips head screws to secure the faucet handle and escutcheon plate. A Phillips head screwdriver with a magnetic tip is recommended to prevent the screw from falling into the faucet.
- Flathead Screwdriver: A flathead screwdriver is needed for removing the set screw that holds the cartridge in place. It’s helpful to have a variety of sizes for different types of set screws.
- Needle-Nose Pliers: These pliers are useful for reaching into tight spaces and removing small parts like the set screw or cartridge retaining clip.
- Cartridge Removal Tool: Some Kohler faucets require a specialized cartridge removal tool. This tool is designed to grip the cartridge and remove it from the faucet body.
- Basin Wrench: A basin wrench is essential for accessing and tightening nuts located under the sink. The long, flexible arm allows you to reach tight spaces and turn nuts with ease.
Safety Equipment
Safety should always be a priority when working on plumbing fixtures. Here’s the safety equipment you should have:
- Gloves: Wearing gloves protects your hands from sharp edges, dirt, and potential water exposure.
- Eye Protection: Goggles or safety glasses should be worn to protect your eyes from debris or water splashes.
Step-by-Step Kohler Bathroom Faucet Cartridge Removal
![]()
This guide will provide a detailed walkthrough of the process for removing a Kohler bathroom faucet cartridge. By following these steps, you can effectively replace a worn-out cartridge and restore your faucet’s functionality.
Turning Off the Water Supply
Before starting the cartridge removal process, it’s crucial to shut off the water supply to the faucet. This prevents any water from leaking during the process and potential damage to your bathroom.
- Locate the water supply valve for the faucet. It’s usually found beneath the sink or behind the wall.
- Turn the valve clockwise until it stops. This will shut off the water flow to the faucet.
- To confirm that the water supply is off, turn on the faucet handle. If no water comes out, the water supply is successfully shut off.
Draining the Faucet
After shutting off the water supply, it’s important to drain any remaining water from the faucet. This step helps prevent water from dripping during the cartridge removal process and ensures a clean and dry working area.
- Open the faucet handle to release any remaining water in the faucet.
- Use a towel or sponge to absorb any dripping water to prevent water damage to the surrounding area.
Removing the Handle and Escutcheon
To access the cartridge, you’ll need to remove the faucet handle and escutcheon. These components cover the cartridge and its access points.
- Identify the handle screw or set screw on the faucet handle. It may be hidden under a decorative cap or located on the side of the handle.
- Use a small screwdriver to loosen and remove the handle screw or set screw. Once removed, gently lift the handle off the faucet stem.
- Locate the escutcheon, which is the decorative plate covering the faucet base. It’s usually held in place by one or more screws.
- Use a screwdriver to remove the escutcheon screws and gently pull the escutcheon away from the faucet base.
Removing the Cartridge Retaining Nut
The cartridge is held in place by a retaining nut. Removing this nut allows you to access the cartridge and pull it out.
- Locate the cartridge retaining nut. It’s usually located beneath the faucet stem, visible after removing the handle and escutcheon.
- Use a wrench or adjustable pliers to hold the faucet stem steady while you loosen the retaining nut.
- Turn the retaining nut counterclockwise to loosen it. It may require some force, but be careful not to damage the faucet stem.
- Once the retaining nut is loose, carefully remove it from the faucet stem.
Removing the Cartridge
With the retaining nut removed, the cartridge can be pulled out of the faucet stem.
- Gently pull the cartridge straight up and out of the faucet stem. It may require some effort, but avoid forcing it.
- Inspect the cartridge for any signs of wear or damage. This will help determine if the cartridge needs to be replaced.
Cartridge Removal Troubleshooting: Kohler Bathroom Faucet Cartridge Removal
Sometimes, removing a Kohler bathroom faucet cartridge can be more challenging than expected. This section addresses common issues you might encounter and provides troubleshooting tips to help you successfully remove the cartridge.
Identifying Common Issues, Kohler bathroom faucet cartridge removal
- Stuck Cartridge: The cartridge may be stuck due to mineral deposits, corrosion, or a worn-out O-ring. The cartridge might feel tight or resist turning.
- Broken Handle or Stem: A damaged handle or stem can make it difficult to operate the faucet and may prevent the cartridge from turning.
- Damaged Cartridge: If the cartridge is severely worn or damaged, it might be impossible to remove it without further damage to the faucet.
- Improper Tools: Using the wrong tools or applying excessive force can damage the faucet or the cartridge.
- Incorrect Removal Technique: Not following the correct steps for cartridge removal can lead to complications and potential damage.
Troubleshooting Tips
- Use the Right Tools: Ensure you have the correct tools, including a cartridge removal tool, pliers, and a screwdriver. Avoid using tools that are too large or too small, as this can damage the faucet.
- Apply Lubricant: If the cartridge is stuck, try applying a penetrating lubricant like WD-40 to the cartridge stem or the threads. Allow the lubricant to penetrate for a few minutes before attempting to remove the cartridge.
- Use Gentle Force: When turning the cartridge, apply gentle force. Avoid using excessive force, as this can damage the faucet or the cartridge. If the cartridge is still stuck, try tapping on the handle or stem with a rubber mallet to loosen it.
- Inspect the Cartridge: If the cartridge is damaged or worn out, it might be necessary to replace it. Inspect the cartridge for any signs of damage, such as cracks, chips, or missing parts.
- Consult a Professional: If you are unable to remove the cartridge after trying these troubleshooting tips, it is best to consult a professional plumber. A professional can diagnose the problem and provide a safe and effective solution.
Overcoming Stubborn Cartridges
- Soaking: If mineral deposits are the culprit, soaking the cartridge in a solution of vinegar or a commercial descaler can help loosen them. This process may take several hours or overnight.
- Heat: Applying gentle heat to the cartridge with a hairdryer or a heat gun can help soften any hardened mineral deposits or adhesive, making it easier to remove.
- Tapping: Gently tapping on the cartridge with a rubber mallet or a wooden dowel can help loosen it from its seat. Use a soft material to avoid damaging the faucet.
- Specialized Tools: If the cartridge is particularly stubborn, a specialized tool like a cartridge extractor or a faucet wrench can be helpful. These tools are designed to grip the cartridge securely and provide leverage for removal.
Kohler Bathroom Faucet Cartridge Installation

Installing a new Kohler bathroom faucet cartridge is a relatively straightforward process that can be completed with a few basic tools. The new cartridge should come with instructions specific to your model, so be sure to consult those as well. The steps Artikeld here are a general guide for installing a new cartridge.
Installing the New Cartridge
Once you have removed the old cartridge, you can begin installing the new one. The new cartridge should be lubricated with a silicone-based lubricant to ensure smooth operation.
- Align the Cartridge: Align the new cartridge with the faucet body, ensuring that the splines on the cartridge match those in the faucet body. The splines are grooves that help to secure the cartridge in place.
- Insert the Cartridge: Gently push the new cartridge into the faucet body. You may need to use a small amount of force, but do not overtighten.
- Tighten the Cartridge: Once the cartridge is fully inserted, tighten the retaining nut. The retaining nut is usually located on the underside of the faucet body and secures the cartridge in place. Tighten the nut using a wrench or pliers, but be careful not to overtighten.
- Test the Faucet: Once the cartridge is installed, test the faucet to ensure that it is working properly. Turn on the water supply and check for any leaks. If you notice any leaks, tighten the retaining nut further, but be careful not to overtighten.
Important Considerations
- Use the Right Tools: Using the correct tools for the job is crucial. Use a wrench or pliers that are the right size for the retaining nut to avoid damaging the faucet.
- Lubricate the Cartridge: Using a silicone-based lubricant on the cartridge will help ensure smooth operation and prevent the cartridge from seizing up.
- Avoid Overtightening: Overtightening the retaining nut can damage the cartridge and the faucet body. Be careful not to overtighten, and stop tightening when the cartridge is securely in place.
- Check for Leaks: After installing the new cartridge, always check for leaks to ensure that the cartridge is properly installed.
Post-Installation Testing and Maintenance

It’s crucial to test the new Kohler bathroom faucet cartridge after installation to ensure it functions correctly and that the repair was successful. This testing process will help identify any potential issues early on, allowing for timely adjustments or troubleshooting.
Testing the New Cartridge
After installing the new cartridge, it’s important to thoroughly test its functionality to ensure a successful repair. This involves checking water flow, pressure, and overall operation.
- Turn on the Water Supply: Carefully turn on the water supply to the faucet. This will allow water to flow through the new cartridge.
- Check Water Flow: Observe the water flow from the faucet spout. The flow should be smooth and consistent, without any leaks or drips.
- Test Water Pressure: Feel the water pressure coming from the faucet. It should be similar to the pressure before the cartridge replacement.
- Check for Leaks: Carefully inspect the faucet for any leaks around the cartridge, handle, or spout. If you notice any leaks, tighten the connections or replace any damaged parts.
- Test Functionality: Operate the faucet handle to check for smooth and easy operation. The handle should move freely and control the water flow effectively.
Ongoing Maintenance
To ensure the longevity and optimal performance of the new Kohler bathroom faucet cartridge, regular maintenance is essential. This involves simple practices that can prevent future issues and extend the cartridge’s lifespan.
- Clean the Faucet Regularly: Regularly clean the faucet with a mild cleaning solution and a soft cloth. This will help prevent mineral buildup and maintain its appearance.
- Check for Leaks: Periodically check for any leaks around the cartridge, handle, or spout. If you notice any leaks, address them promptly to prevent further damage.
- Lubricate Moving Parts: Occasionally lubricate the faucet handle and other moving parts with a silicone-based lubricant. This will ensure smooth operation and prevent wear and tear.
- Avoid Harsh Chemicals: Avoid using harsh chemicals or abrasive cleaners on the faucet, as they can damage the finish and shorten the cartridge’s lifespan.
